|
How to build a pole which is light and easy to carry? That was the question I asked myself when I started to investigate and photograph crop circles. I have seen my friend and collegue crop circle researcher Bert Janssen in action with his heavy iron pole, but that was nothing fo me. I don't like heavy iron poles which weigh a ton...
Therefore I decided to develope a new light pole which is easy to handle and carry. What I found was an old telescope fishing rod. I removed the top parts of the fishing rod and made an aluminium support on which I could fasten my digital camera. I used this prototype for two years after I developed a new and better pole. The problem with the old pole was that the pole was to short in some cases and that the aluminium support was locked on the pole which gave some problems with the transport of the pole. Therefore I needed to develope a new pole.
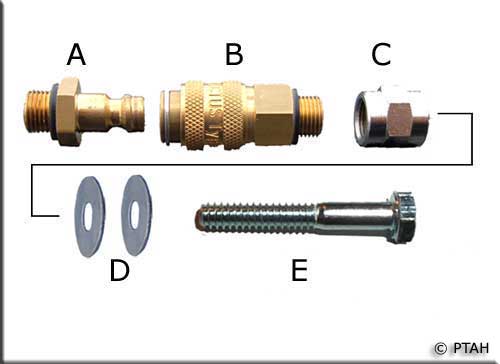
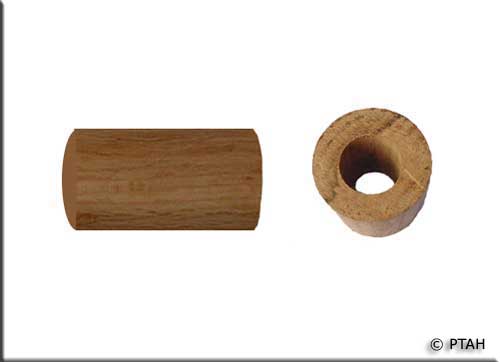
From each part I bought one, except from part 'C'. I bought two of them because later one we need the other part 'C' to make a camera support. The next thing I did was to assemble part 'B' and 'C'. Make sure that the wire of part 'E' is the same as the wire of part 'C'. Then I used a piece of a broomstick and made that the same diameter of the top of the pole. The next thing is to drill a hole in the piece of broomstick which has the same diameter as part 'E'.
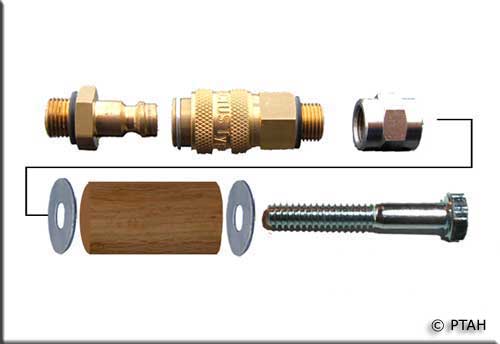
Assemble all parts as is shown at the photo below. Make sure the iron rings 'D' has also the same diameter as the top of the pole.
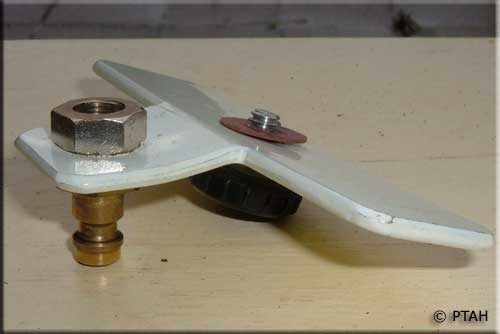
After this construction is assmebled in the top of the pole, the camera support can be build. I used a piece aluminium of approx. 3 or 4 mm thick which I made in shape of a 'T' with one 'short standing leg'. The angle of the 'T' is approx. 15 degrees.
One can see the result on the next photo when the camera support is 'clicked' on top of the pole.
Took some nice pole shots? Unscrew the camera, click the camera support from the pole and stick the loose ends of the pole inside eachother. That's all.
|